

Preparation
Install System Updates
Your computer should be set to automatically check for updates to ensure the best protection against security threats. We recommend that you disable the ability to get Windows updates from sources other than Microsoft.
Uninstall Previous Client
If you have been previously using the Cisco VPN on your windows computer. You should uninstall the old VPN client software before installing the new client.
Please go to this page to uninstall the old Cisco VPN client.
If you need to uninstall the FortiClient, go to this page for uninstall instructions.
Extraction
Once the download completes, you must extract the VPN Client from the zip file.
-
You may see a dialog asking what you want to do with the downloaded file. Click "Open".

-
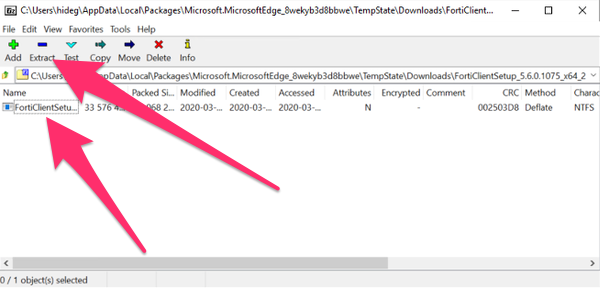
The the file you have downloaded is a zip archive. A zip extraction utility will launch on your computer.
Its interface may differ from what is depicted here (we are using 7-zip File Manager). Select the FortiClientSetup item in the window, then click on Extract.
-
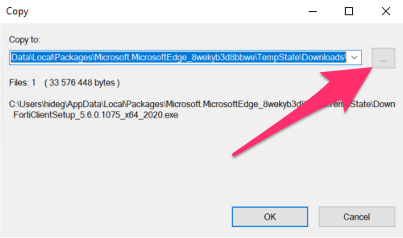
If your software asks you where to save the extracted file, click the browse button.
-
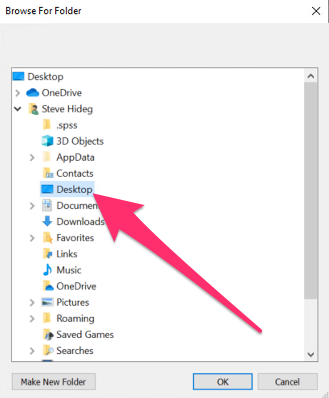
Find and select your Desktop.
-
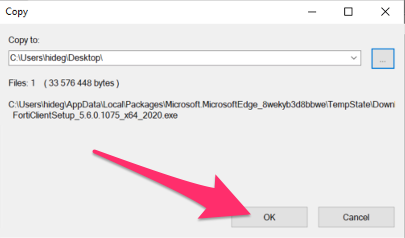
Click OK to have the file extracted.
Installation
NOTE: The installation process will likely reboot your computer. Please be sure to save all unsaved documents and work before proceeding.
-
An icon for the FortiClient Setup program should appear on your desktop. Double-click on it to launch it.

-
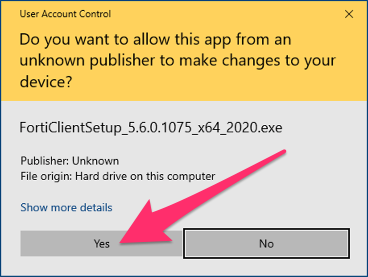
You will encounter a security warning about letting an app from an unknown publisher make changes to your device. Click "Yes".
-
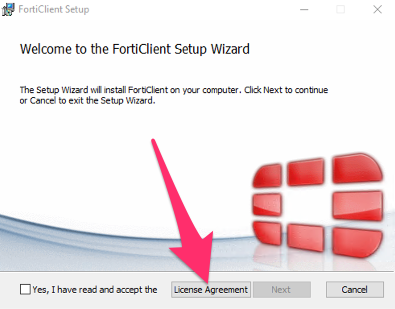
In the first window, you will have to agree to the license agreement. Click the "License Agreement" button to read it.
-
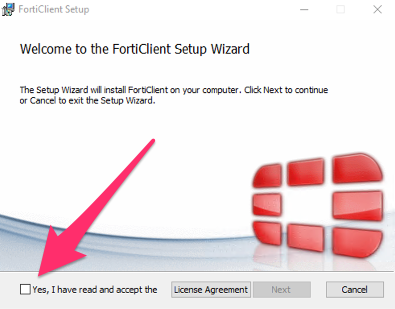
Check the checkbox labelled "Yes. I have read and accept the...".
-
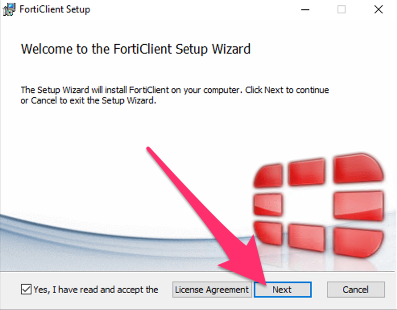
Then click on the "Next" button.
-
The next window will ask for a destination folder. Keep the default and click on the "Next" button.

-
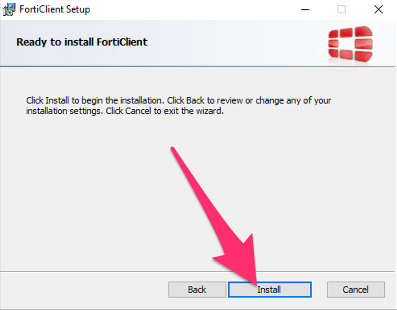
In the next window, click the "Install" button.
-
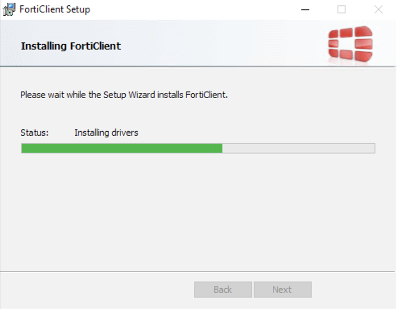
Wait while the software installs.
-
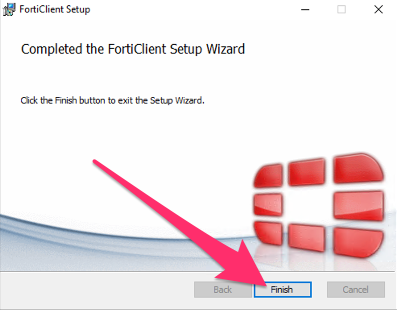
Click the "Finish" button.
Connection
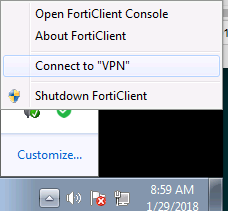
- In the bottom right of your screen, find the green shield with a check mark.
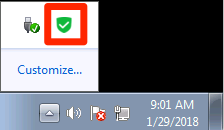
- Right click on the green shield and click on the Connect to "VPN" option.
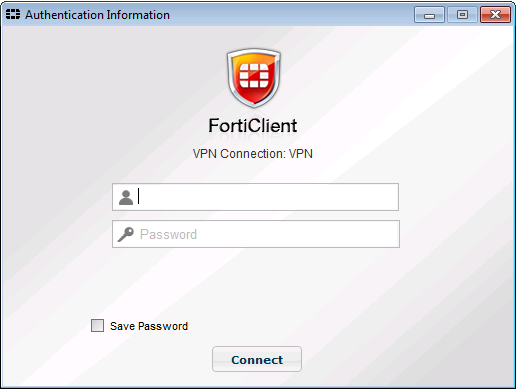
- You will be prompted for your username and password. This is the same username and password you use for email, Blackboard, file servers, etc. Enter your username and password, then click Connect.
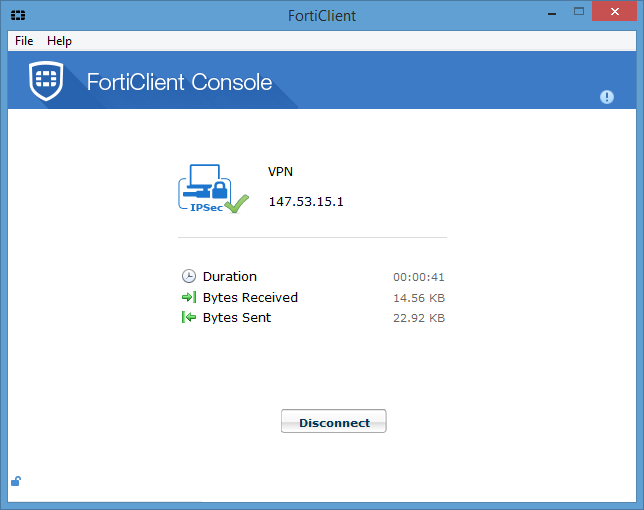
- Once you are connected, the status window will display as shown below.
To disconnect the VPN, click on the Disconnect button.
Note that you cannot access the VPN from any on campus location (using wired a wired connection or the BelleAire or ResNet wireless networks). The VPN is only for use off campus.
What do I do now?
Now that you are connected via the VPN, you can access various campus-only or restricted resources.
Connecting to file servers
- Windows 10
- Windows 11
Other Services
- Online Phonebook
- Saint Mary's Portal
- If you are using a College-owned machine, you can run license-controlled software when connected via the VPN. These include:
- Maple
- MatLab
- Spartan
- SPSS
NOTE: License-controlled software is subject to availability of shared licenses.
These licenses are shared by on-campus users as well as VPN users. - If you wish, you can print to network printers on campus when connected via the VPN.